Lately I discovered these nice little LoRa boards that make it possible to transmit data over the air on an open frequency without the need to have an extra SIM-card and a cellular data network. They promise up to 10km range so I knew that this would be my new playground :-)
Basically with LoRa you just send out data in clear-text on a predefined channel and everyone else that listens on that channel can read it. Not very safe. Actually not safe at at.
I also learned about LoRaWan that already solves a lot of these problems – especially encryption, addressing and lots more. But at the place where I wanted to deploy LoRa is no LoRaWan coverage and I also did not want to buy+operate a LoRaWan gateway there.
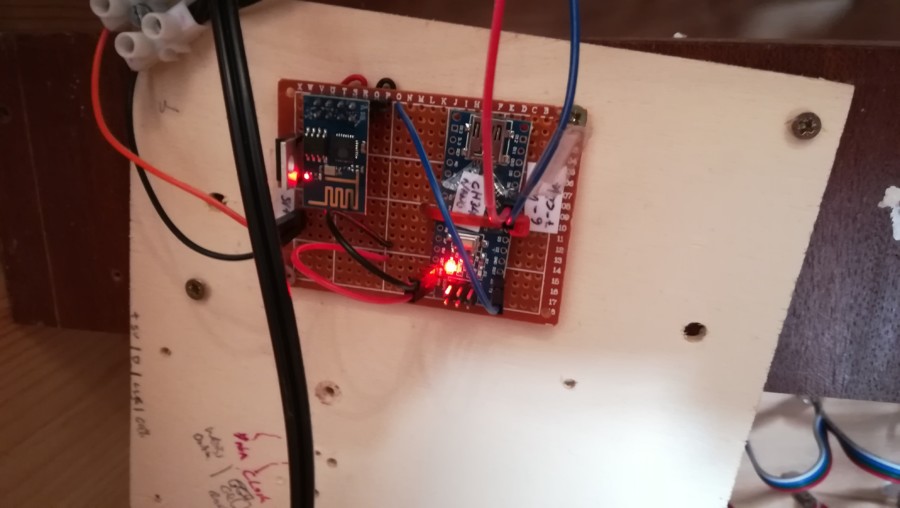
So I decided to build my own LoRa infrastructure. It consists of some nodes sending data via LoRa and another node (my “LoRa Gateway”) listening to them and forwarding the data to my web-backend via WiFi.

I’m using the ESP8266-12 modules programmed via Arduino on both sides as there is already a broad variety of libraries and a big and helping community.
After initial data transmission from the sensor-node to the web-backend finally was working I started to play around with encrypting the payload. There are already a lot of libraries to encrypt and decrypt data on the Arduino that work great. But I did not find a lot of examples to encrypt on the Arduino and decrypt on a webserver.
One that was quite promising was the one that I found here: https://github.com/kakopappa/arduino-esp8266-aes-encryption-with-nodejs. It uses AES-128-CBC and was the first example project that I got working for my requirement to encrypt on the ESP8266 and decrypt on another platform – a big thanks to https://github.com/kakopappa :-)
The only problem was that it is using nodejs to decrypt the data but my webhost only supports php. So I wrote a php-port of the decryption part:
<?php
function decryptAes($aesKey, $ivB64, $msgB64){
		$plain_iv = bin2hex(base64_decode($ivB64));
		$iv = hex2bin($plain_iv);
		$key = hex2bin($aesKey);
		$bytes = openssl_decrypt($msgB64, "AES-128-CBC", $key, $options=0, $iv);
		$plaintext = base64_encode($bytes);
		$decoded_b64msg = base64_decode($plaintext, true);
		return base64_decode($decoded_b64msg, true);
}
?>
Sample usage:
<?php
	$aesKey = "2B7E151628AED2A6ABF7158809CF4F3C";
	$ivB64 = "iv-in-base64";
	$msgB64 = "msg-in-base64";
	$decryptedMsg = decryptAes($aesKey, $ivB64, $msgB64);
	echo $decryptedMsg;
?>
Of course you need to change the $aesKey to the one you have used. The key you see here is the same as in the library of https://github.com/kakopappa. The key is defined as a HEX-String, the IV and message are given Base64-Encoded.